


- Transform your windows with frosted vinyl decals
- Made to measure frosted window stickers to fit any size
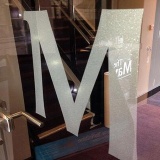
- High quality 'frosted/glitter' effect vinyl
- Vinyl window frosting finely cut to any shape/pattern
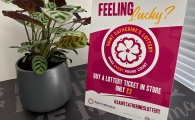
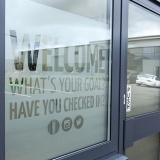
- Restaurants, cafes, hairdressers all love our frosted vinyl
- Frosted vinyl fitting service available upon request
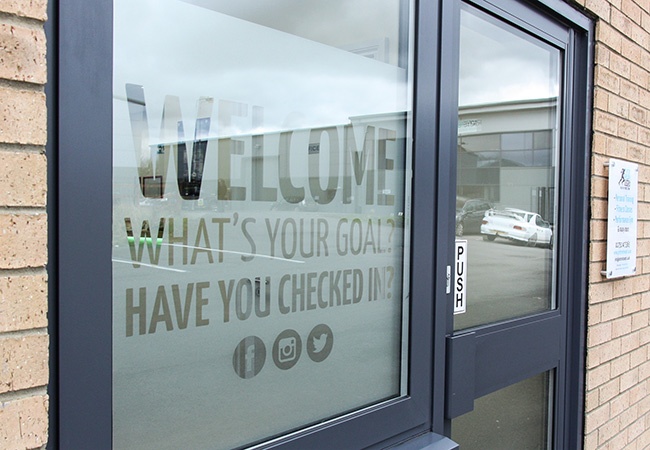
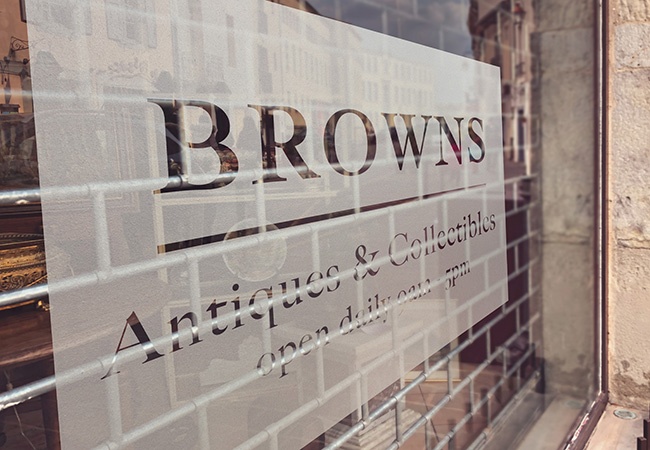
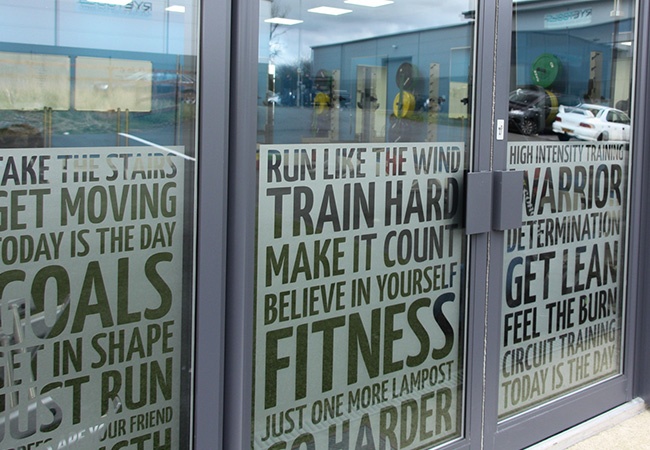
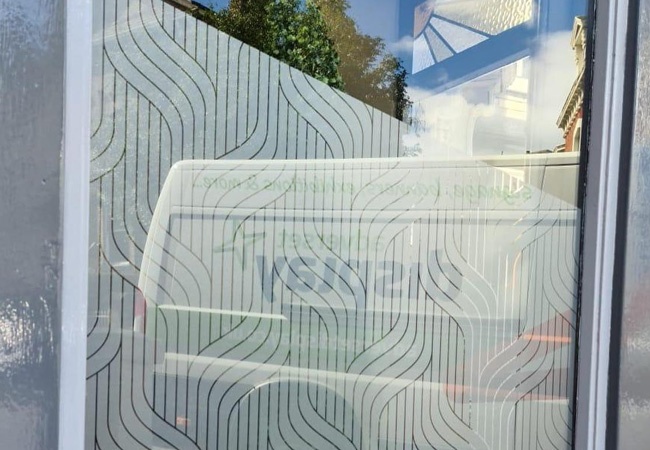
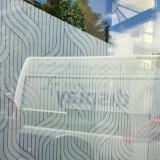
Widely used to create an 'engraved' decorative effect, frosted vinyl decals come in a choice of finishes. This window vinyl frosting is designed to be fit internally, but viewed from both sides of the window.
Frosted vinyl decals could transform the windows of your shop front or business premises, to give a professional, upmarket feel.
Please use the form to request printed samples of our frosted vinyl material. Please specify either standard frosted, or glitter finish.
Fitting frosted vinyl is reasonably straight forward. However, if in any doubt, please use a qualified fitter, as we cannot guarantee our vinyls if they are fitted incorrectly.
Your frosted vinyl will come mounted on paper application material. We strongly advise that your graphics are fitted as soon as possible upon receipt. Should the vinyl be left for a period on the application material, this can make fitting more difficult.
There are two methods of fitting:
1. Using the 'Dry' process and;
2. Using the 'Wet' process.
For ease of use, our frosted vinyl material is designed to be fitted using the 'dry process', with no need for fluids. However for areas in excess of 1.5 metres or larger more complex projects, you may find it easier and less problematic, to apply using the 'wet' process.
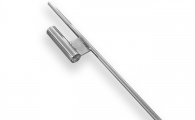
You will need a plastic graphic applicator, similar to this example, tape measure and scissors (or scalpel).
THE DRY PROCESS
1. Position your frosted vinyl on the window, whilst still on the application paper, which should be facing you. The smoother paper side should be facing the window. Invariably you will be fitting to the inside of a window with the graphic cut in reverse. Remember to double check that your graphic reads the right way from outside of the window.
2. A good tip in order to achieve your position is to measure out and mark the opposite side of the window with pieces of tape. That way, you can align your graphic accordingly.
3. Once happy with the position, tape the graphic to the window in all four corners. Then place one long vertical piece of tape over the graphic, ensuring that plenty of tape is also stuck to the window top and bottom of the graphic. Rub down the graphic with your plastic applicator
4. Flap back one side of the graphic as far as possible and close to the glass. Carefully peel away the backing paper (the paper nearest the window) taking care that all of the graphic elements transfer successfully to the application tape. You may need to repress down to encourage smaller elements to transfer properly.
5. Once one half of the graphic has transferred, keep flapped back AWAY FROM THE GLASS and tape the application tape to the window temporarily. With scissors or scalpel, cut away the blank piece of backing paper.
6. Removing the tape holding in temporary position, hold the application paper taut and away from the window and gradually move across the application paper with the applicator gently to smooth the graphic down onto the window surface. Once done, smooth down more firmly with the applicator.
7. Remove all positional tape and repeat the process on the other side of the graphic.
8. Finally smooth down the whole graphic firmly.
9. Leave the graphics for at least an hour before cleaning the glass.
THE WET PROCESS
1. Mark out the opposite side of the window to the side you are applying the graphic to with tape to enable you to align the graphic on the other side. All ass per item 2' on 'DRY PROCESS'.
Invariably you will be fitting to the inside of a window with the graphic cut in reverse. So before fitting, remember to double check that your graphic reads the right way from outside of the window when offered up.
2. Mix water with a drop of Fairy Liquid or baby shampoo inside a spray bottle.
3. Spray the window taking care to wet the full surface.
4. Place the graphic on a flat surface with the non-application paper side upwards. Gradually pull the paper backwards at a flat angle, ensuring that all the graphic elements are left behind/transferred to the application paper. Tape down application paper to avoid movement.
5. Gently spray the graphic elements on the application paper.
6. Take hold of the two top corners of the application paper holding the graphics, turn the piece around so that the adhesive side of the graphics are facing the window and place in position on the window surface. Due to the liquid barrier, you will be able to 'slide' the graphic into your desired position and align with your tape positions on the other side of the glass.
7. Gently squeegee out the excess water with your plastic applicator by moving from the centre outwards. Squeegee a second time, but more firmly in order to ensure that most of the moisture is removed. If your graphic is fitting into a window frame, or similar, take care to remove all the moisture from each corner so that the corners adhere properly.
8. Wipe down the surface of the application tape with a dry cloth. Then carefully peel back as flat as possible at an extreme angle and remove the application tape with an even motion, ensuring that the graphics stay in position on the glass. Do not yank or rush this part of the fitting.
9. Due to the wet fitting process, the graphic will take a couple of hours for the adhesive to 'set'. Therefore don't touch the graphics or clean the glass during this period.