

- 2225mm(h), 1930mm(w), 485mm(d)
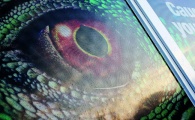
- Includes full set of magnetic, heavy weight, anti-scratch laminated display graphics
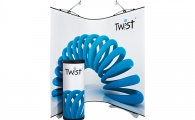
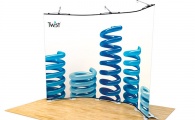
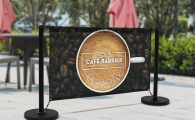
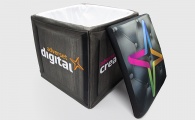
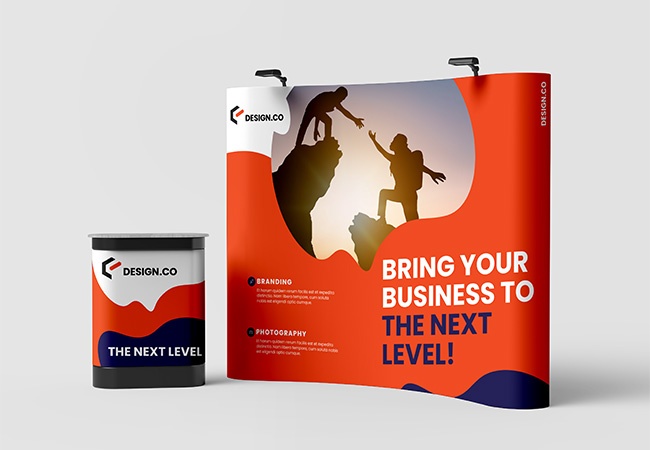
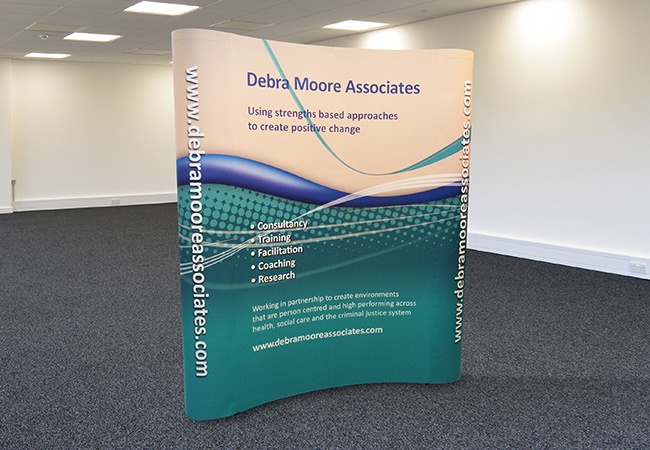
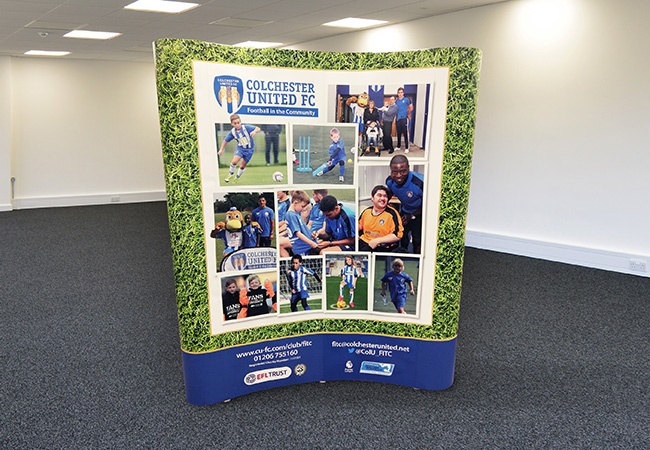
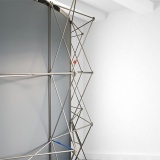
- Curved design for maximum impact at exhibitions
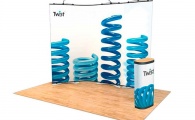
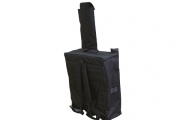
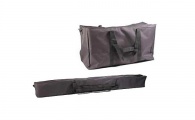
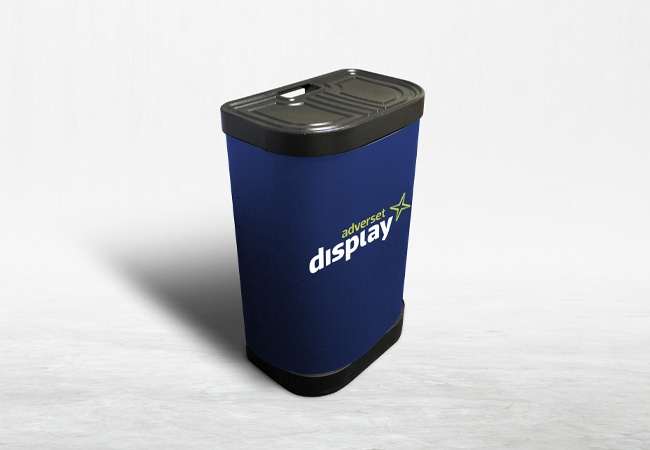
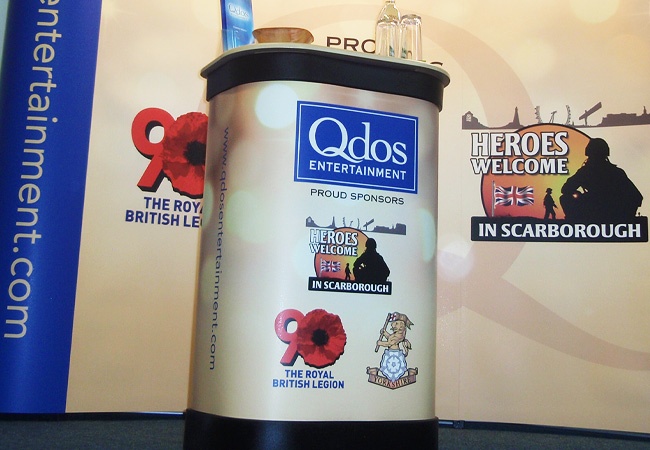
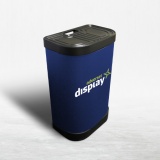
- Includes hard-shell wheeled carry case which converts into a counter* with wooden beech top
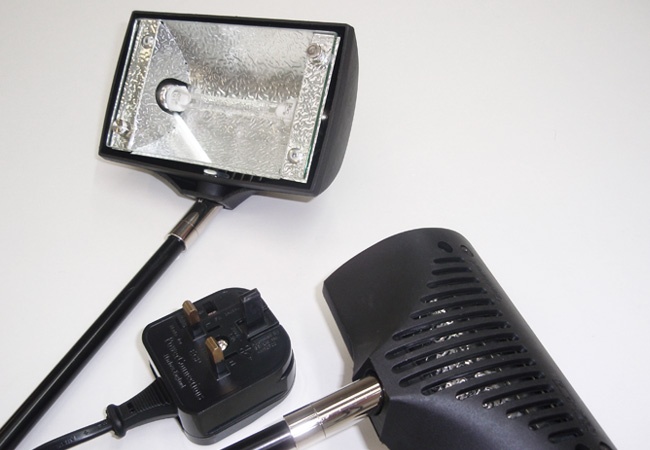
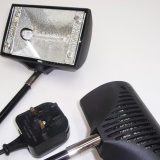
- Includes 2 x PS1000 floodlights
* Optional graphic wrap available for counter.
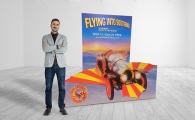
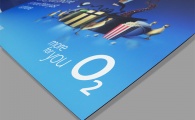
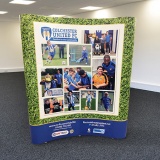
3x2 Pop Up Stands
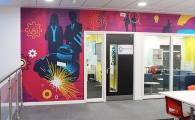
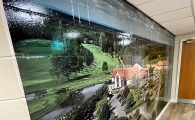
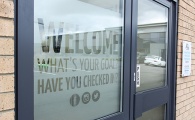
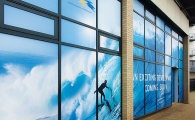
The 3x2 pop up exhibition stand is a fantastic double panel curved exhibition stand, which comes supplied with two floodlights along with a multifunctional case that makes transporting the 3x2 pop up stand easy. The 3x2 stand is perfect for helping you to make an impression at your next exhibition and can also be used in a foyer / reception setting to promote a brand or product with maximum impact.
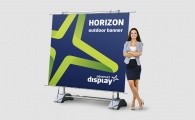
We include 3x2 exhibition stand printing with every order, with the ability to upload your own artwork or use our dedicated team of designers to create your artwork for you. The 3x2 stand is quick and easy to assemble with magnetic strips on the reverse of the graphics which simply clip into place on the frame!
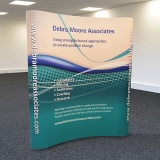
If you're looking for a similar product, check out our fabric exhibition stand. These are another cost-effective and easy to assemble display solution.
Whilst we can't send you a sample of an actual stand unit, we would be happy to supply material swatches for the graphic panels, if useful.
 Erecting your 3x2 stand is very straightforward. Here are a few easy steps:
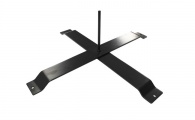
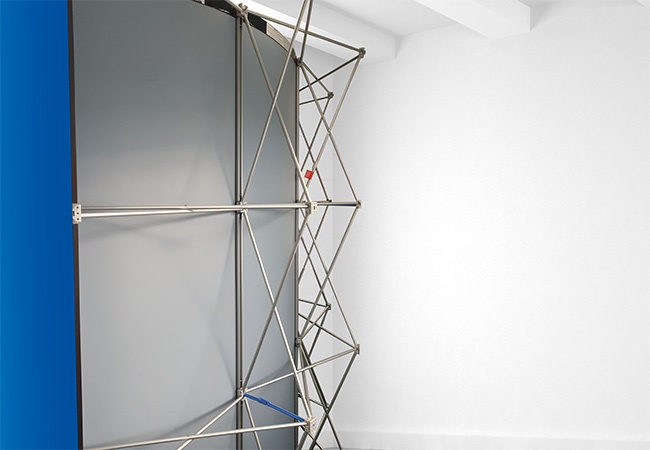
1. Take out the main frame and pull up until it clicks into place (similar action to a clothes horse).
2. Take out the bag of magnetic strip bars and slot into the sections of the frame. They will click into place with ease.
3. Make sure you have an area of floor to work in. Locate the relevant graphic, which will be a corner piece. This will already attached to a hanger and will be fitted with magnetic strips on the reverse. Hang from the two slots located at the top of the corner section and let the graphic bend naturally. The magnets on the reverse of the graphic should snap into position. Repeat this for the centre panels which will be straight and then finish with the other corner piece.
4. Adjust the graphics if required by moving slightly on the hangers. There should be a small amount of adjustment available.
5. Attach the lights (see file on this under our download tab).
6. Fit the wooden counter top onto the carry case to convert into a counter. Attach the graphic around the counter (if applicable), secure at the back with the double sided velcro which will already be fitted.
You're ready to go!
Reverse the procedure to dismantle, taking care to roll the graphics up carefully - always roll with magnets on the inside, image to the outside.